Pumpkin Carving Techniques: Tips from an Expert
Summary
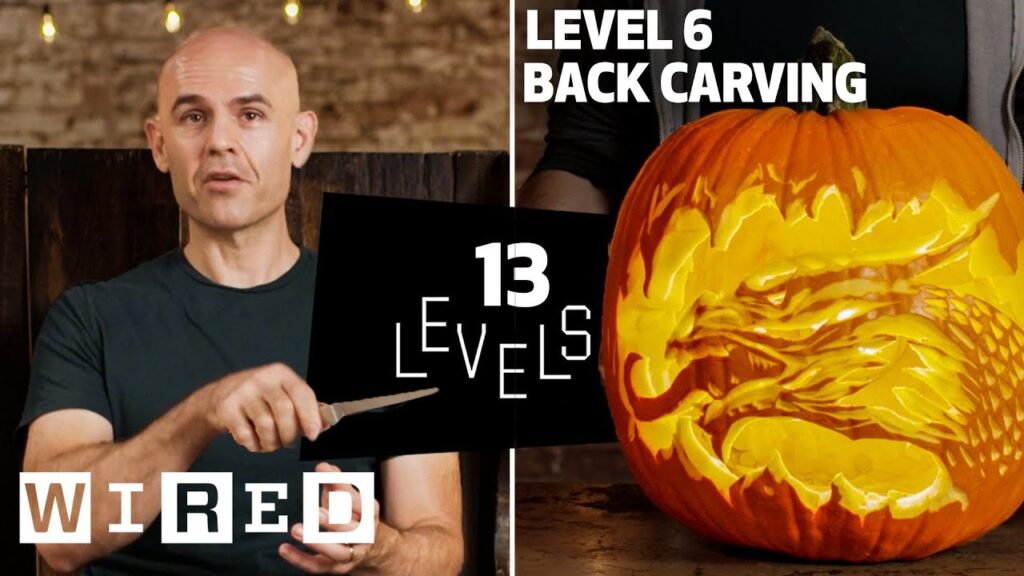
In this blog post, we will be discussing pumpkin carving techniques as explained by James Hal, a professional pumpkin carver. James shares his tips and tricks for creating different designs and levels of complexity, from a simple triangular jack-o’-lantern to a detailed, layered carving that tells a story. He emphasizes the importance of paying attention to facial expressions, using the natural translucency of the pumpkin, and choosing the right tools to achieve clean edges.
Table of Contents
- Creating a Classic Jack-O’-Lantern
- Carving Realistic Shapes and Adding a Background
- Layered Carving with Multiple Colors
- Enhancing Carving with Natural Translucency
- Elevating Carving with Complexity
Introduction
Pumpkin carving has become a beloved Halloween tradition for many families. However, achieving a well-carved pumpkin takes skill, patience, and practice. That’s where James Hal comes in, a professional pumpkin carver who shares his expertise in this article.
Q&A
Creating a Classic Jack-O’-Lantern
Q: How do I create a basic jack-o’-lantern?
A: Creating a basic jack-o’-lantern starts with choosing a pumpkin and preparing it by cutting off the top and scooping out the insides. Then, use a felt-tip marker to outline a simple, triangular face with eyes, nose, and mouth. Cut out the features with a sharp, sturdy knife or saw. You can use a plastic scoop or spoon to remove the insides. Once you’ve carved your design, place a tea light inside the pumpkin and light it up for a classic Halloween decoration.
Q: How can I make a basic jack-o’-lantern look more embellished?
A: To make a basic jack-o’-lantern look more embellished, pay attention to facial expressions and add detail to make the design look more realistic. For example, you could add wrinkles near the eyes or nostrils, or carve out a thicker brow or chin.
Carving Realistic Shapes and Adding a Background
Q: How can I create a realistic pumpkin carving?
A: Creating a realistic pumpkin carving requires a steady hand and precision. To carve shapes that replicate the way light bounces off an object, carve deeper into areas where you want shadows and shallower in areas where you want highlights. Adding a background can also help tell a story and add depth to your carving.
Q: What are some tips for carving a detailed background?
A: When carving a detailed background, make sure to plan out the entire design beforehand. This can be done by sketching or tracing the design onto the pumpkin. Carve the background first before proceeding with the foreground. For added stability, use toothpick-like supports to anchor carved sections in place to avoid breaking pumpkin fibers.
Layered Carving with Multiple Colors
Q: What is layered pumpkin carving?
A: Layered pumpkin carving involves carving into different levels of the pumpkin to create multiple colors and depth. By carving through the outer layer of pumpkin and into the inner flesh, you can create different shades and hues.
Q: How do I approach creating a layered pumpkin carving?
A: When creating a layered pumpkin carving, start by planning out the design beforehand. Then, carve the deeper layers first, leaving the outer layer intact to provide support. After you’ve carved the deeper layers, carefully carve the outer layer to reveal the different colors underneath. To achieve the best results, be sure to sharpen your carving tools frequently.
Enhancing Carving with Natural Translucency
Q: How can I use the natural translucency of the pumpkin to enhance my carving?
A: To enhance your carving using the natural translucency of the pumpkin, pay attention to the thickness of the pumpkin’s flesh when planning your design. By carving deeper into areas where you want the design to be darker and shallower where you want it to be lighter, you can achieve different effects. It’s important to test the depth of the cut before proceeding to avoid breaking pumpkin fibers.
Elevating Carving with Complexity
Q: How can I elevate my carving beyond basic designs?
A: To elevate your carving, try adding complexity to your designs. This could include carving in three dimensions, where you carve into different levels of the pumpkin to create a multi-layered effect. You could also try sculpting a background instead of just carving it, or incorporating different textures and patterns into your design. The possibilities are endless!
Conclusion
Pumpkin carving can be a fun and rewarding activity, especially when armed with the right techniques and tools. By using the tips and strategies outlined by James Hal, you can take your carving skills to the next level and create intricate designs that are sure to impress. Remember, practice makes perfect!